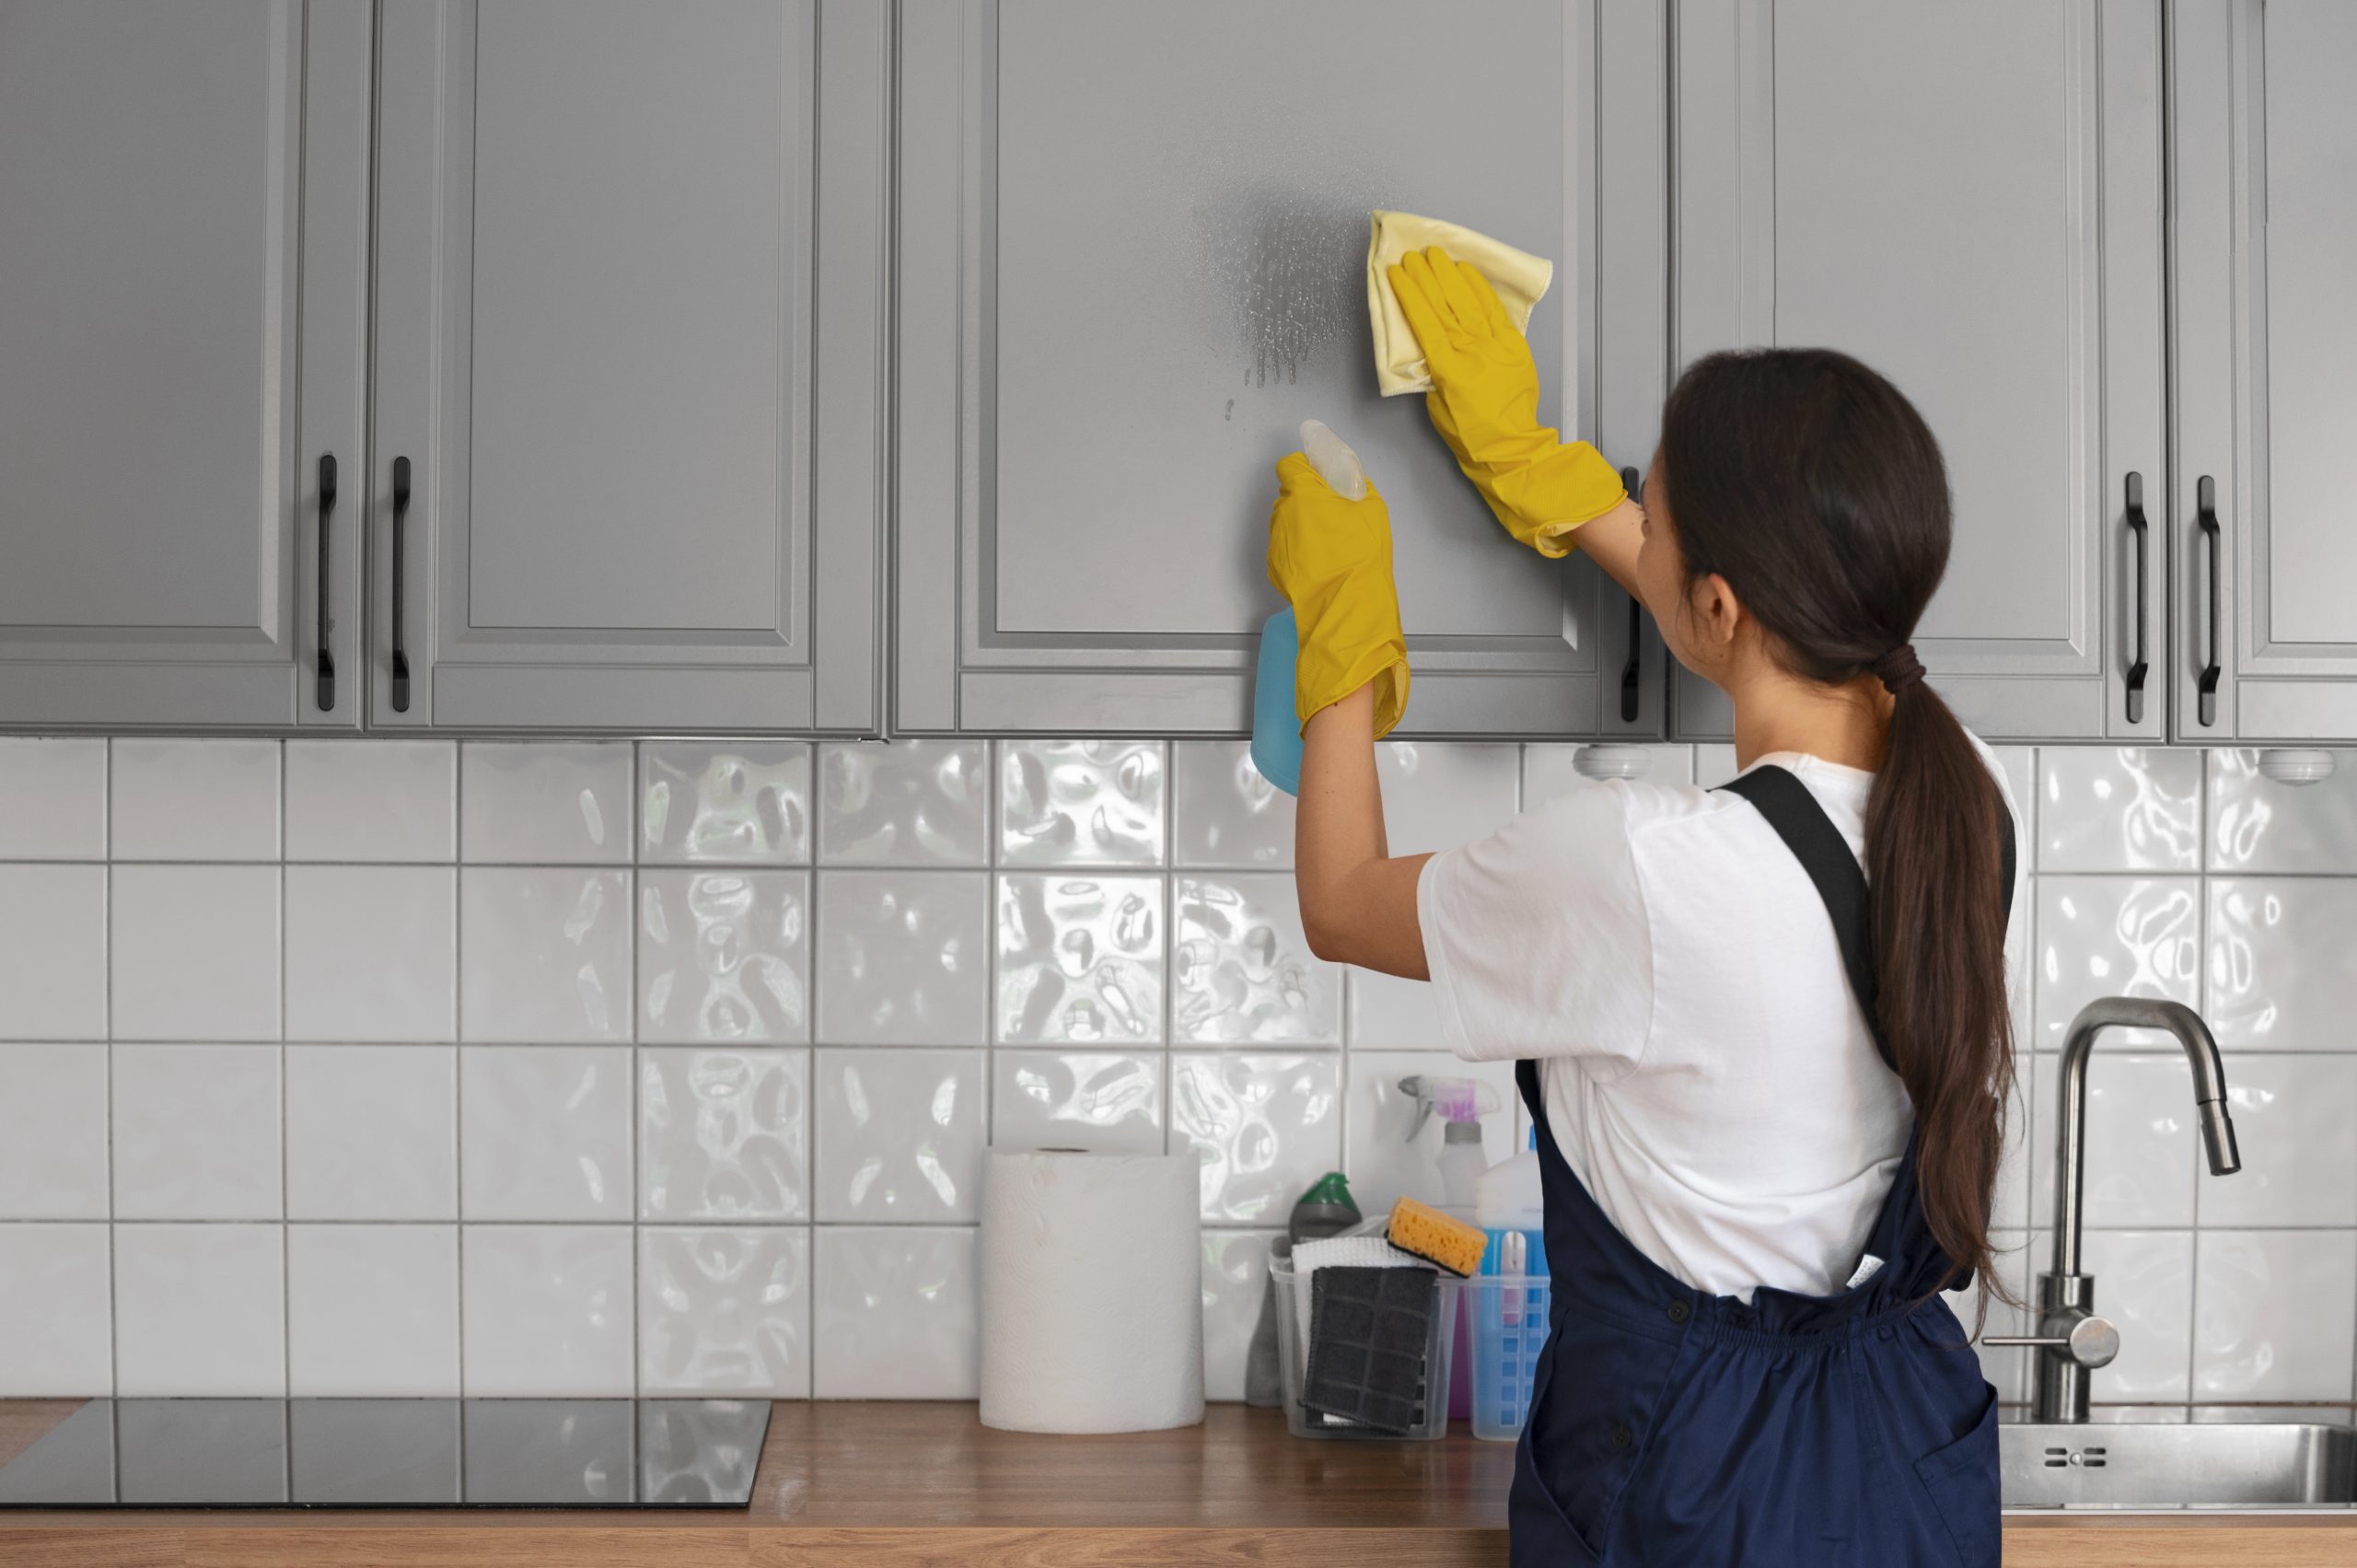
Cleaning kitchen cabinets of stains and grease is undoubtedly one of the most difficult tasks. But when it comes to maintaining a clean and hygienic kitchen, it’s necessary. Although using cleaning products that can quickly cut through dirt may be appealing, doing so risks damaging the cabinets’ finish. We have some kitchen cabinet cleaning tips and solutions for you!
How frequently should You Clean Kitchen Cabinets?
Make cleaning your kitchen cabinets a regular part of your weekly routine. Throughout the week, give the cabinet surfaces a spot cleaning. Every 3 to 4 months, thoroughly clean the interior and exterior of kitchen cabinets.
If you need extra help keeping your kitchen spotless, professional kitchen cleaning services in Waco can provide thorough cleaning and ongoing support for a cleaner, healthier home.
Essential Supplies for Cabinet Cleaning
Tools
- Cleaning cloths
- Old toothbrush
- Vacuum
- Bowls/basin
Materials
- Liquid dish soap
- Distilled white vinegar
- All-purpose cleaner
- Baking soda
How to Clean Kitchen Cabinets Regularly
Quick Kitchen Cabinet Cleaning for Dust and Fingerprints
All you need to keep your cabinets free of smudges and dust is hot water and a disposable cloth or paper towel. Simply wet your cloth and spot-clean any areas with fingerprint smudges.
Of course, if you have glass-front cabinets, you may want to wipe those down with some glass cleaner and a microfiber cloth when you spot smudges.
Clean Handles and Knobs as Needed
You can smooth cabinet handles and knobs with a microfiber cloth when you notice they need a little more shine. Clear out the affected area, remove the offending pantry staples, and clean the edges and corners of the freed space with warm, soapy water and a microfiber cloth.
For a more thorough kitchen cleanup, a professional house cleaning service in Waco can help keep your cabinets and other surfaces spotless with less effort on your part.
Organize the Interiors of Cabinets
Over time, dust, crumbs, and tiny spills can accumulate within cabinets. Remove one portion at a time, then use a gentle cloth to clean the corners, edges, and shelves. While cleaning, make sure to check expiration dates and get rid of any outdated or useless cupboard items.
How to Deep Clean Kitchen Cabinets
- Empty every cabinet and drawer, starting from the upper cabinets and working your way down. You can empty a few at a time or one at a time, but don’t empty them all at once.
- Use a mild all-purpose cleaning or washing solution diluted with warm water to moisten a microfiber cloth. Clean the cabinet’s interior, including the back of the cabinet door and any shelving.
- If you have glass-front cabinets, wipe down glass with a microfiber cloth and a top-tested glass cleaner.
- Don’t forget to clean any hardware, tracks, or trim where dust and grease can build up. If your cloth can’t reach small crevices, use a small brush or toothbrush to scrub the area gently.
- Rinse and buff dry with a microfiber cloth.
If you need help with a full kitchen or whole-home refresh, professional home cleaning services in Killeen, TX can make the process easier and ensure every area is cleaned with care.
Cabinet Cleaning Do’s and Don’ts
Do’s
- Dust your kitchen cabinets at least once every two weeks using a soft cloth, microfiber cloth, or duster to reduce the need for deep cleaning.
- Wipe up spills as soon as they happen with a damp cloth or sponge. The longer liquids or chemicals sit on cabinet surfaces, the more likely they are to cause stains or damage.
Don’ts
- Don’t leave cabinet doors and drawers closed during a self-cleaning oven cycle if they are above or next to the oven. Excessive heat from the oven can damage nearby cabinets. Instead, open or remove the doors and drawers during the cleaning cycle.
- Don’t place heat-producing appliances, such as coffee makers, air fryers, or toasters, directly beneath cabinets. The heat and moisture they generate can damage cabinet finishes over time.
Why Professional Cabinet Cleaning is Worth It
Results of Deep Cleaning: Grease, dust, and dirt are removed by professionals from cabinet surfaces, corners, and hard-to-reach areas that are often overlooked during routine kitchen cabinet cleaning.
Preserves Cabinet Finishes: For wood, laminate, or painted cabinets, using the right kitchen cabinet cleaning supplies and methods can help prevent scratches, discoloration, and other damage.
Reduces Time and Work: Homeowners can avoid the time-consuming chore of scrubbing cabinets and dealing with tenacious buildup by hiring professional cleaning services in Temple, TX.
Enhances Cleanliness in the Kitchen: A complete kitchen cabinet cleaning reduces grease and food residue, making the kitchen cleaner, fresher, and more hygienic for daily use.
English Maids Make Cleaning Kitchen Cabinets Simple
One of the simplest methods to keep your kitchen looking nice, healthy, and fresh is to keep your cabinets clean. You can prolong the life of your cabinets and maintain their original finish by routinely cleaning them of grease, dust, food stains, and fingerprints.
English Maids provides professional cleaning services in Waco, TX, and other areas, offering expert assistance in keeping every cupboard clean and your kitchen looking its best.
FAQs
Can I use water to clean my wooden cabinets?
Yes, but only in moderation. Water can cause wood to warp or discolor if it’s not properly dried. After cleaning, always use a soft, dry cloth to dry the wood right away. Use a damp, not wet, cloth.
Which cleaning supplies are safe for use on kitchen cabinets?
For regular kitchen cabinet cleaning, a solution of warm water and mild dish soap is typically sufficient to eliminate surface filth and grime. You can also use wood cleaners created specifically for wood cabinets. Avoid using abrasive cleansers at all costs, as they can cause scratches and other damage to cabinet surfaces.
Is vinegar suitable for cleaning wooden cabinets?
It is okay to use vinegar to clean wooden cabinets. For a homemade, non-toxic wood cleaning solution, combine equal parts water and white vinegar. Make sure you don’t apply the mixture directly to the wood, and always test on a hidden spot first to make sure it doesn’t discolor it. Use a cloth instead.